 Branding
 Digital Marketing
 Web & App Dev
 IT Services
Optimizing Bandwidth in Drupal

Website performance has been in the spotlight ever since Google made it clear that website response time has become an important SEO factor. As if that wasn’t enough, then they added mobile-friendliness to the list of factors just as we’re being told that content with images get better results and more views than plain old text content. So now we’re talking media-heavy and mobile-friendly.
When it comes to response time, the classic bottleneck for mobile access is bandwidth. 4G cellular networks don’t solve the bandwidth problem; depending on country and carrier, coverage could be limited or data plans expensive. How can Drupal websites optimize use of bandwidth?
The concept is pretty simple: minimize the number of bytes going over the network. It pays to spend some time reviewing your website’s code and images to identify opportunities to compress files as well as reduce the number of times you send a file. Here are a few tips.
Compress your code files
Drupal loads up multiple CSS and Javascript files whenever it receives a page request. Each time you add a module, you add to the files Drupal has to handle. The section in a previous blog post A High Level Look at How Drupal Works titled ‘How Drupal Renders a Page’ describes the process Drupal goes through for every single page request. If you can reduce the amount of code, you lighten the load.
1. Enable bandwidth optimization
The first thing to check is whether you’ve got bandwidth optimization enabled. See /admin/config/development/performance and make sure these two boxes are ticked:

2. Use Boost
In a previous blog about caching to improve performance, we mentioned the Boost module. We mention it here again because Boost caches pages as compressed html files.
3. Use Gzip
Your webserver delivers files to the browser. The smaller those files, the sooner they’ll get to the browser. Gzip on your webserver compresses web pages and style sheets before the webserver sends files to the browser. Gzip is especially effective for CSS and HTML files, which contain a lot of whitespace and repeated text; it can reduce those files by up to 70%. To use Gzip, first make sure that it’s enabled on your webserver, then edit the .htaccess file to enable output compression by adding the following lines:
Control image sizes
It’s good practice to put some controls in place when you have a media-heavy website. This makes it easier for content editors to maintain image size standards and control file sizes.
1. Use Image Styles for image fields
In Drupal 7, the Image module comes with the core distribution. This allows you to define image styles, sometimes known as ‘image presets.’ From an editorial point of view, it’s good to use image styles because you can assign preset sizes and effects to images and maintain a consistent, professional look. From a bandwidth point of view, it means you can control image size. The steps are:
- Create an image style
- Add an image field and set its image style
Then whenever you use or upload an image and use the image style, it will take care of sizing it for you. If you change the image style, for example from 350 x 350 to 600 x 600, any images using that style will resize.
The Image module should be enabled by default in Drupal 7. To create a new image style, go to admin/config/media/image-styles. Drupal comes with three default image styles.
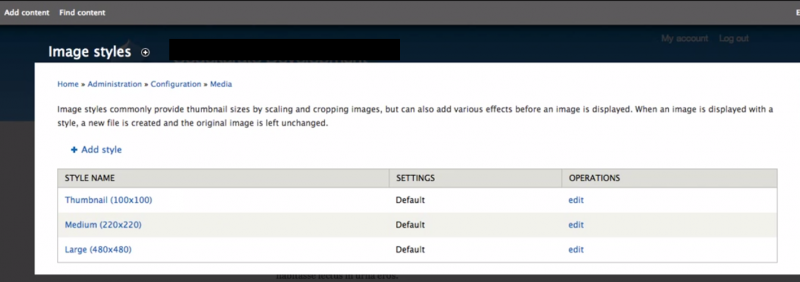
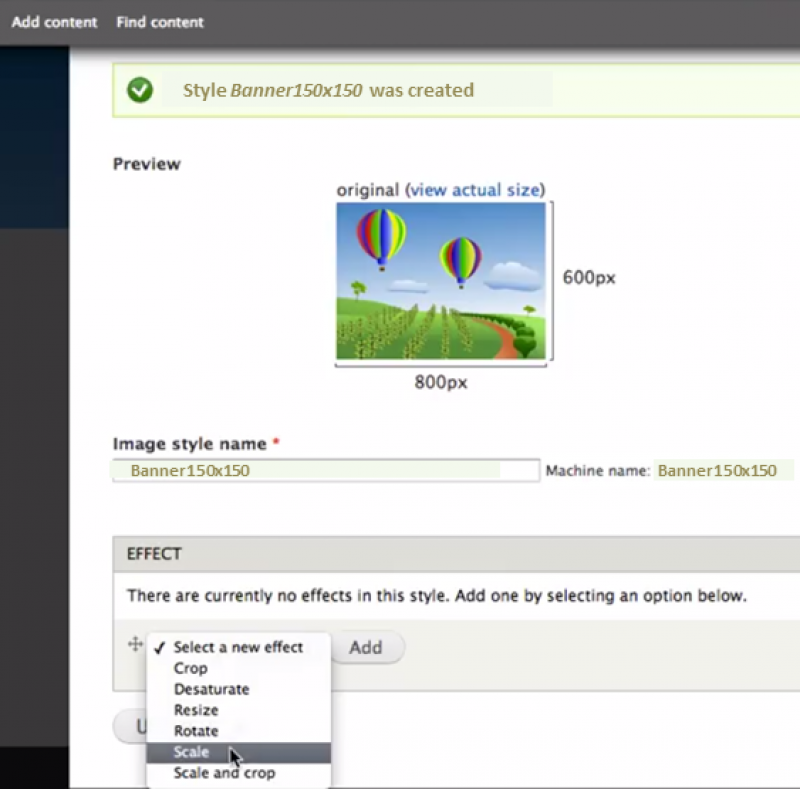
From here, use Add style to define a new image style. After you enter a name for your new style, another screen will pop up for you to enter the height and width you want for this image style. In this example, the Effect we selected is Scale, to keep the ratio of the image proportional as it resizes.
To make use of this style, you need to define a field in the content type where this image type will be used. To override the default of Original image and use your new style instead, click on the settings gear.
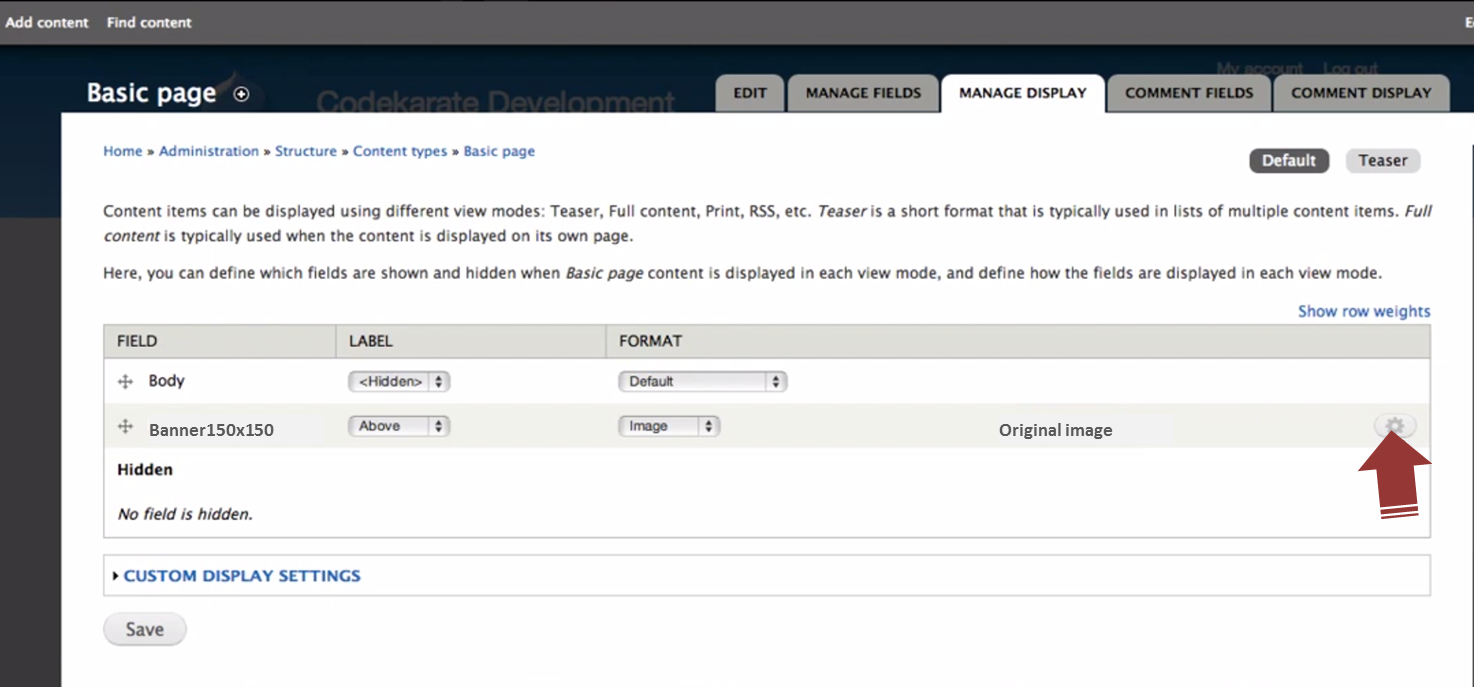
This will let you select from available image styles. From now on, whenever you load an image to that field, it will be scaled and sized accordingly.

2. Use IMCE and Image Resize Filter for inline images
Content editors will want to insert inline images – images that are in the content of a page. Make it easy for non-technical users to upload and resize files while editing content by installing the IMCE module in combination with the Image Resize Filter and IMCE Wysiwyg bridge modules.
IMCE is a file uploader that lets users browse directories and upload files. IMCE Wysiwyg bridge integrates IMCE to the Wysiwyg module and the Image Resize Filter resizes on the fly.
Once installed, if a user uploads a 1200x1200 image and uses the dialog box to set the image size as 400x400 for example, Image Resize Filter stores the original file, but also creates a 400x400 copy of the image – which is what Drupal uses to render the page. The WYSIWYG editor works with the original image, so the user can modify image size at any time. Image Resize Filter simply creates another resized copy for the web page.
A nice feature of IMCE is that you can configure user profiles to constrain image size:
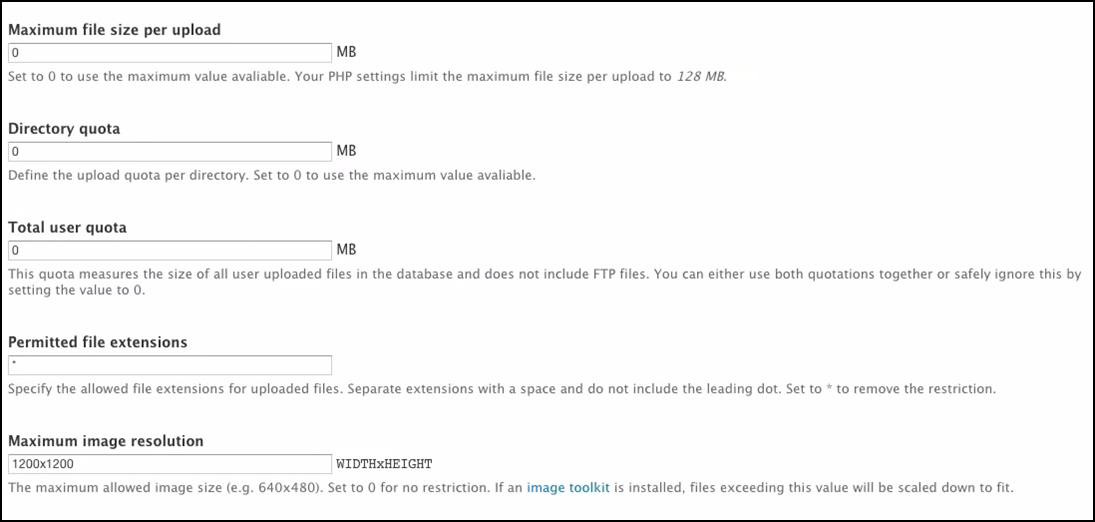
Maximum image resolution is a useful setting because if the user uploads an image larger than this value, the image toolkit kicks in and scales it down to fit. Chances are that your webserver uses the GD Toolkit, which is available on most webservers. Drupal image manipulation modules call on the toolkit’s functions to resize, crop, add effects, etc.
3. Remove EXIF headers
Depending on your image source, an image file could contain large Exchangeable Image File Format (EXIF) headers. This information includes not just filename and date, but could also include data you don’t need such as: camera make, image history (digital edits and saves), geolocation, a thumbnail image, and much more. A tool such as ExifTool strips away unwanted header information.
Cache at the browser
If your website features a lot of static files such as images, flash, icons, javascript, or pdfs, you can save time for repeat visitors by setting a browser cache expiry time in the HTTP headers. Modern browsers will reload these files from the user’s local storage (cache) rather than over the network. Depending on the vintage of browser, it could set its own expiry time for caching or not cache at all, so it’s better to configure this setting. This article contains a comprehensive explanation for Apache webservers.
Whether or not your website is mobile-friendly, there are plenty of benefits to slimming down and speeding up. With a little planning, you can set up Drupal to implement some best practices that optimize bandwidth use while making it easier for content editors to maintain a consistent, professional look on web pages. Remember that your Drupal website is part of a total webserver infrastructure. Take a look at network performance and check into factors such as routing protocols, network traffic profiles, or other applications that are sucking up bandwidth. If you lack the resources or skills to do this, get some experienced specialists to take a look. They have the tools and do this every day.

